Category Orlogsværftet-H-maskinen

H-Maskinen – Introduction

H-Maskinen is going to fly again, after almost 90 years.

This time as a model.

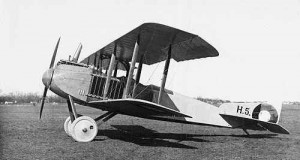
H-maskinen was an aircraft designed and build by Orlogsværftet (Naval Dockyards) in Copenhagen. The first flight was in 1917 and was in service from 1917 to 1924. A total of 9 were built.

Very little is known about the aircraft, and only a handful of photos exist. However, after a lot of research at the national archives, other museums, and with help from private individuals, I have managed to acquire enough information to build a 1:5 scale model.

For more information about this aircraft, look here.

H-Maskinen – 3-Views

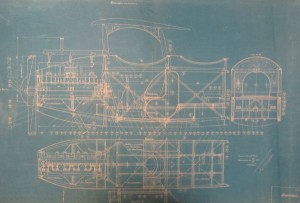
As noted earlier, I have a fairly complete set of plans for the full-scale aircraft, which I will be using for this build.


H-Maskinen – Research

This plane had a wing-span of 11.54 m, length of 8.0 m and a height of 3.15 m.  As always, my models are to scale 1:5, giving this model a wingspan of: 2.308 m, length of 1.60 m and a height of 0.63 m – a fairly nice sized model.

This aircraft is a bit unusual, in that I have the construction drawings, and instead of trying to add more details to a 3-view based on photos, I now have to do it in reverse, i.e. I have way too many details and need to reduce the complexity of the model. So, in this case, there is absolutely no guesswork.


H-Maskinen – Design

This aircraft is pretty simple to build. I will enter all the blue-prints into the PC and make a 3D-model of them, trying to figure out how all the different parts fit together. Since the actual assembly drawings are missing, it might be a bit of a challenge. However, I hope I can figure it out.

H-Maskinen – Fuselage

The fuselage of the H-Maskinen was of standard design for an aircraft of that period, and consisted of wood and canvas. Metal brackets were used to hold it all together, and turn-buckles and piano wire were used to true it up.

The canvas would have been silver-doped, like all the other Royal Danish Army aircraft of its day, and thus slightly see-through. I therefore have to design the model in that fashion too. If the canvas had been painted, and not see-through, it would have been much easier to make the model.

Anyway, I have first drawn the fuselage in Alibre CAD. It is not very detailed this time, as I do not imagine that I will be selling any of these plans. They are after all only relevant for a handful of Danish large-scale enthusiasts.
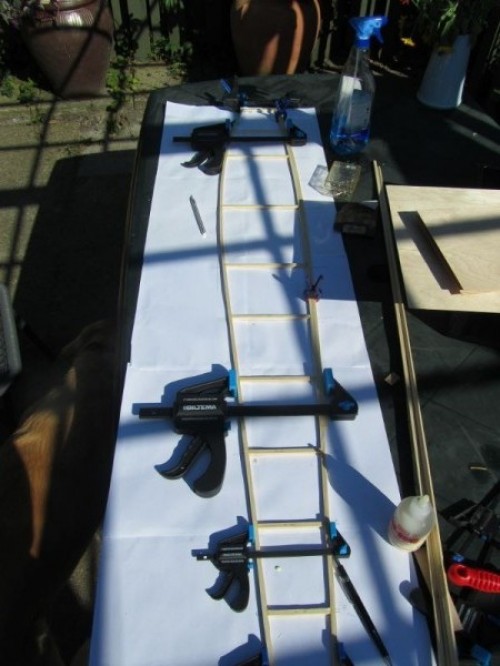
I then printed out the side-view on a sheet of paper, and glued all the spruce stringers together based on the drawing.
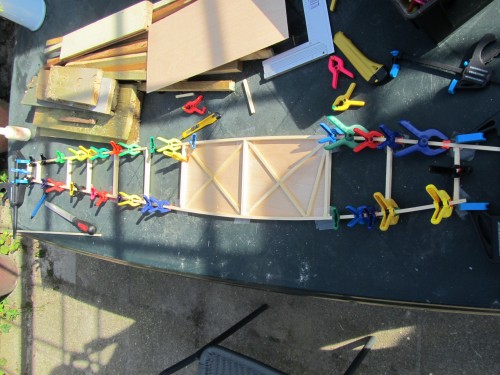
Next, I added the internal stiffeners in the cockpit area, exactly where the real aircraft had been reinforced. I then added some 0.8mm plywood where the actual aircraft had plywood sheeting.

Since the H-Maskinen had an open cockpit, it is possible to see its inside it, and it must be decked out with all the right details, including the internal reinforcements.
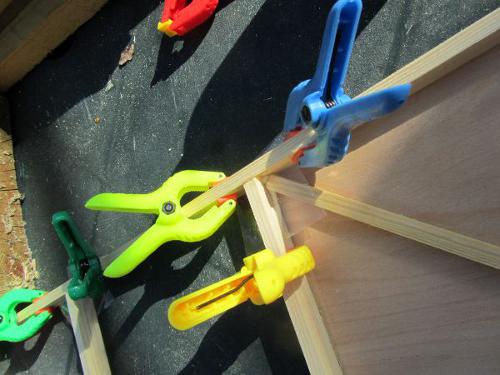
I then built the other fuselage side on top of the first one, to make sure they came out 100% identical. A piece of plastic sheet was placed between the left and right sides, to prevent the two sides getting stuck together.
 

H-Maskinen – Fuselage

The next step will be to join the two fuselage sides and add some top and bottom formers.

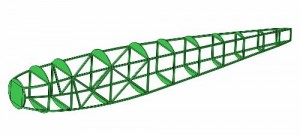
Here is what the CAD looks like.


H-Maskinen – Related posts

Comments


Leave a reply